Manually importing Supplier data via a Workflow
Adding Collateral manually via Campaign wizard
Collateral can be manually added to CMAP in the format of either a supplier declaration or a recognised IPC form. If the latter is added then both the type and the product it refers to will be automatically recognised by CMAP so you will not need to specify either the type and the product in this instance.
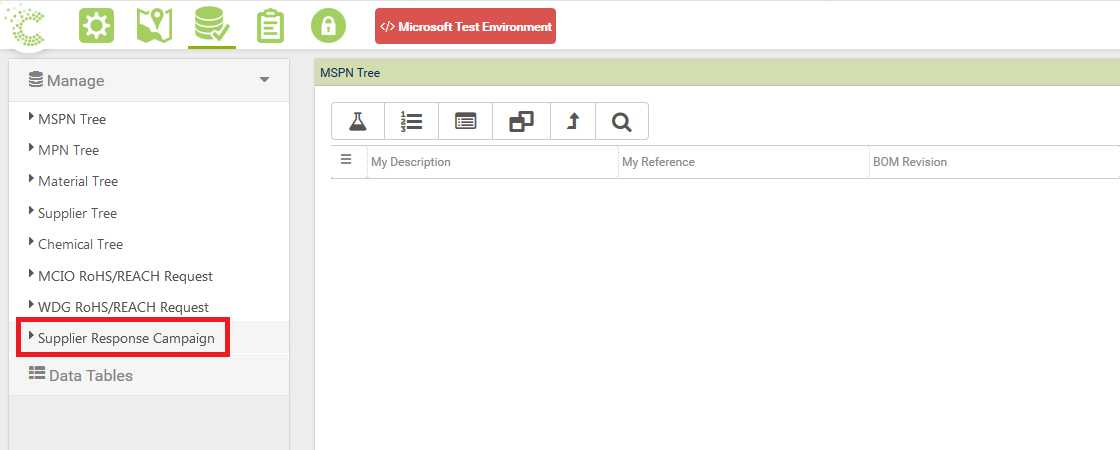
Step 1 - Click on Supplier Response Campaign from the Data -> Manage menu
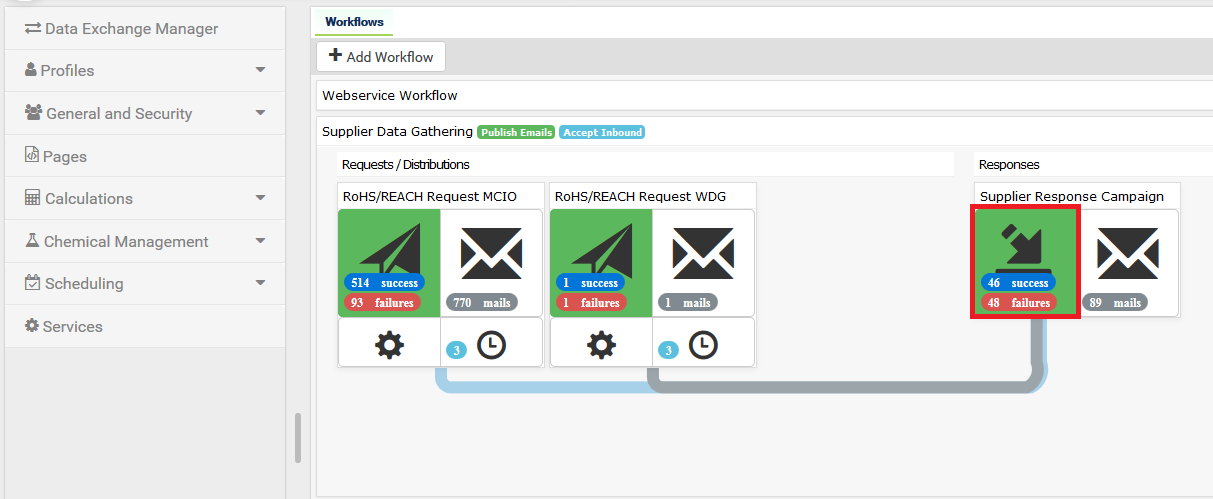
Alternatively, the same grid can be accessed via or via the Administration -> Data Exchange Manager menu -> Supplier Data Gathering -> Supplier Response Campaign:
Step 2 - Click on the Wizard Add Files icon at the bottom of the grid…
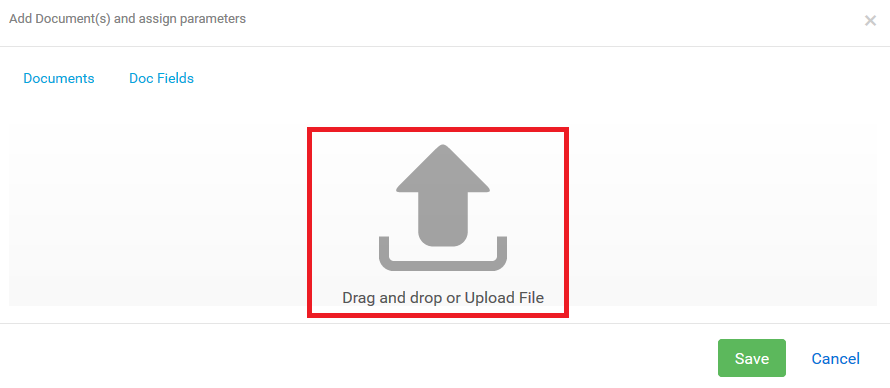
then click Upload File…
then click the icon titled Drag and drop or Upload File in the middle of the dialog to select a source file…
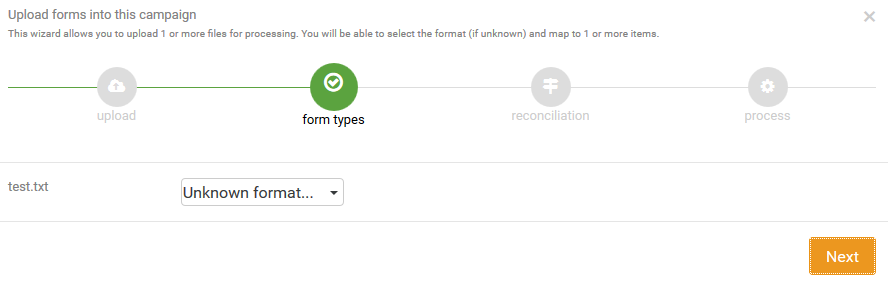
Locate the file on your local PC or network area and select Save. If an incorrect file is selected you can remove uploaded collateral by clicking on the red cross next to the uploaded collateral. On resulting window press Next
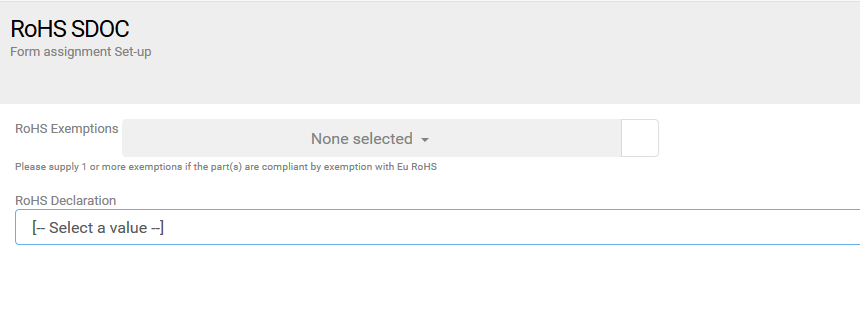
If the form type is a valid IPC form CMAP will identify and set the format. If the form type is not automatically recognised you should manually select type from drop down list. Supplier documents should be set to either RoHS SDOC or REACH SDOC according to the scope of the document supplied.
Users will also need to manually set the compliance status specified in the collateral by selecting appropriate statement from the drop-down box. In addition, for Eu RoHS any specified exemptions can be selected from the Eu Exemption drop-down. Press Trigger Now
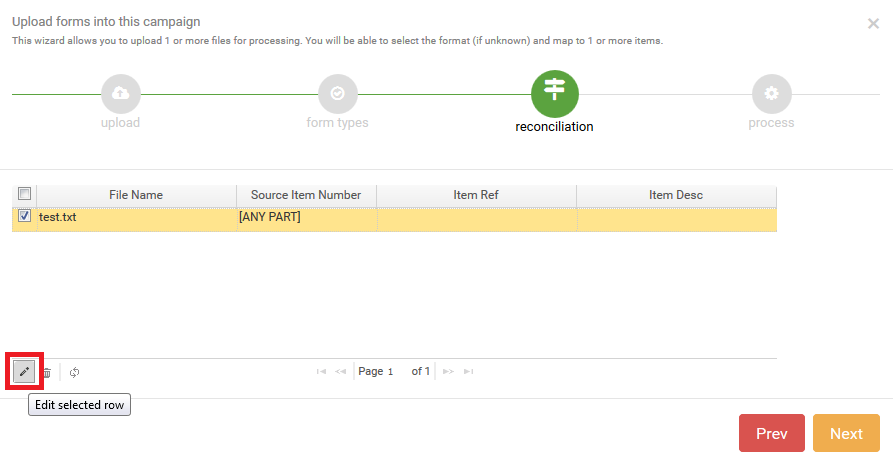
If the Part is displayed in green it has been automatically mapped, press Next
If the Part is not displayed in green text this means it has not been automatically mapped. In this case you will be need to manually find the Product and map. Highlight the row and press the Pencil icon
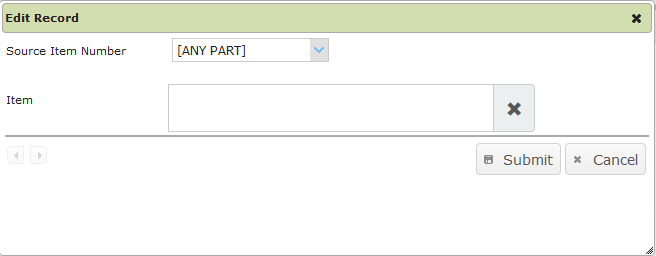
On resulting window click in the Item box and the Search dialogue will display
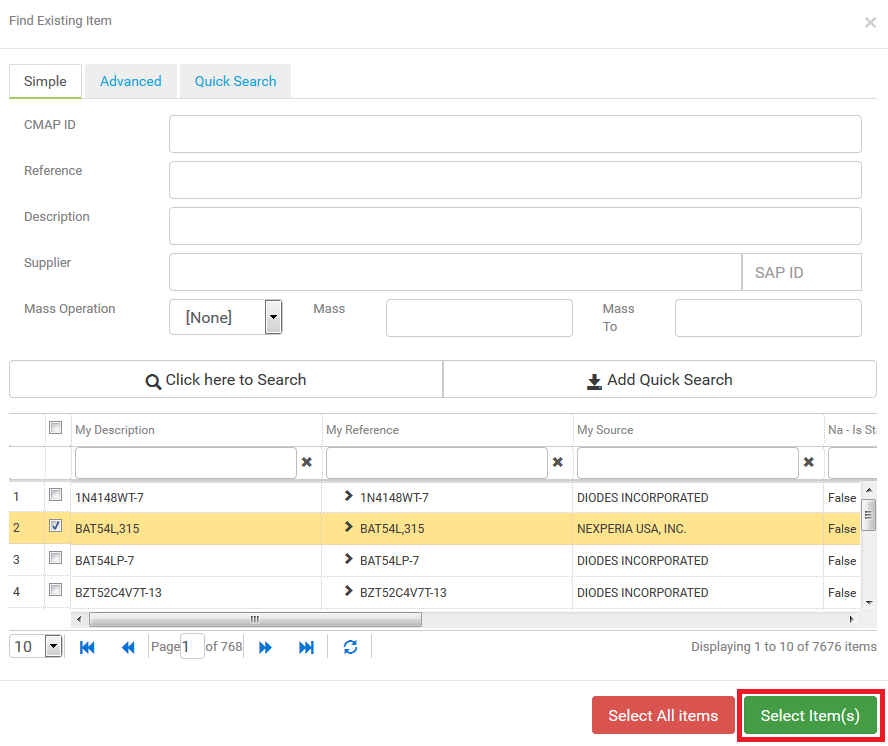
Then search for required Product, tick the checkbox of the rows required to be mapped and press Select Item(s)
On resulting page press Submit, then Finish